

“I tried BIM Track once. But when I hit
<View in Model>, I got nothing."
This sentence is the surest way to break our BIM Track hearts. Is it because our software is terrible? No. It’s because this problem boils down to the dreaded SHARED COORDINATES.
In this blog post, we are going to share our best practices for sharing coordinates across your models in Revit.
Shared coordinates can be one of the most difficult tasks to understand within Revit (or any other BIM software for that matter!). The confusion can be directly compounded when working with multiple software platforms that use different methods to set coordinate systems and approaches to positioning. Yet, they are also one of the most essential procedures required when setting up a project to coordinate and for the alignment of models on a site for all disciplines and consultants.
The benefits of correctly adjusting shared coordinates are not limited to aligning models for coordination but can also position the project in the real world if using proper geodetic data from a surveyor landmark or a provided file with the real-world information present.
BIM Track also requires the use of shared coordinates in order to position the information stored in the project in the same position across all available platforms. It is ultimately a language that can communicate with multiple different software platforms simultaneously in order to provide consistency between all types of models included in a project. This process should be one of the first steps of a project, and setting it properly and as early as possible will save time and money throughout a project when cross-linking models together for coordination.
Why setting up shared coordinates is worth it:
- To properly coordinate the project models to work across platforms, including BIM Track.
- To display the project in its real-world location (including BIM and GIS data overlay).
- To link files together that have different base points (arbitrary coordinate systems).
- Easy overlay of point clouds.
Definitions
We’re going to start with some basic but crucial definitions of Internal vs Shared Coordinates, Project Base Point vs Survey Point, Project North vs True North and a few more. If you're already comfortable with these definitions, feel free to skip ahead to Publishing Shared Coordinates in a Linked file.
1. Coordinate Systems
There are two systems that can be used within Revit: Internal Coordinates and Shared Coordinates.
Internal Coordinates:
This system is used based on the internal model’s origin. Everything in Revit is modeled in relation to the origin point. All elements include an X, Y, and Z value based off of this point.
Shared Coordinates:
This system allows you to adjust the reference point from project origin to a shared site point, to make it appear in a different position or with a different angle based on the internal base point. It is important to note that nothing in the Revit model moves when using this system, even if it looks like it moves and/or rotates on the screen. It is just applying an adjustment to the point of origin, so in fact, all elements keep their relation to the internal base point when using this option.

2. Project Base Point vs Survey Point
The best way I have found to explain the difference between the Project Base Point and the Survey Point is that when editing the project base point location, you are moving the model around on the earth but when modifying the survey point, you are moving the earth under the model.
Project Base Point:
This point is used to create a reference for positioning elements in relation to the model itself. By default, the Project Base Point is the origin (0,0,0) of the project. The Project Base Point should be used as a reference point for measurements and references across the site. The location of this point does not affect the shared site coordinates, so it should be located in the model where it makes sense to the model; usually at the intersection of two gridlines or at the corner of a building.
In Revit views, the project base point looks like this:

Survey Point:
This point is a real-world relation to the Revit model. It represents a specific point on the Earth, such as a geodetic survey marker or a point of reference based on project property lines. The survey point is used to correctly orient the project with other coordinate systems, such as civil engineering software.
In Revit views, the survey point looks like this: 
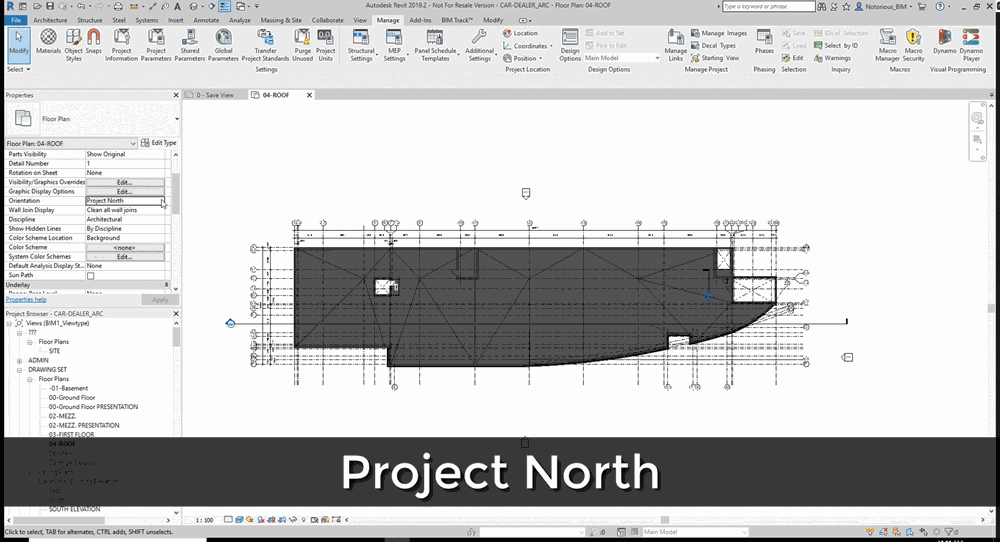
3. Project North vs True North
Revit has two different “North” directions: Project North and True North. These two options allow the user to position the project for both page and view layout reasons. This allows the project to be parallel and perpendicular for presentation and modeling purposes. The project north rotation is a reference that the project uses from true north. For this reference, it is important to know that the model’s true north settings are saved and set when shared locations are used.
4. Shared Coordinates Between Linked Models
If multiple models are being linked together, and need to be positioned appropriately in relation to one another, shared coordinates are required. The shared site is a pocket of information that contains:
- 3-dimensional coordinates (x, y, z),
- The rotation angle, East or West of True North
- A specific name, allowing you to easily distinguish between multiple shared sites.
Publishing Shared Coordinates to a Linked Model
In this section, we’re going to describe how to publish shared coordinates to a linked model. We’ve created a step-by-step video for you that shows how to publish shared coordinates. But we’d also like to encourage you to read on so you fully understand the logic behind it.
- Open the model that contains the proper geodetic information previously provided or decided upon for the project. Once you turn on the visibility of the site points, notice the project base point location along with its coordinates, and the survey point that has its own set of coordinates. By selecting the survey point, you will be able to control the shared coordinates of the model.
Remember to make sure that the proper shared site is “current” in the model. - Now when linking in another model, bring it in using the ‘Origin to Origin’ positioning to insert it at the origin point of the current model to the origin point of our linked model - this will suffice for now as this is not the final resting position of the linked model.
- Once the chosen model is linked, relocate this model manually, in order to make sure it lines up with the existing grids or reference point of the current model. We also need to make sure that the levels line up appropriately. Aligning the grids and levels is basically setting the linked model in the proper position for the x, y, and z axes.
- Even though the grids and levels are now lined up, the properties of our now linked model show <Not Shared> because we have not published this new location back to the linked model. Click on <Not Shared> to open the Site configuration box for the linked model.
- Create a new shared site and rename it. This can be done by selecting the default shared site and duplicating it, then simply renaming it. The linked model will change from the default internal coordinates to the new shared site that was just created.
Please note that when saving the current project, a message pops up to first save the new position of the linked model. This will publish the new coordinates back to the linked file, making a change to the shared site of that linked file, so proceed with caution! - Now open the model that was previously linked. After turning on the site locations, the new shared site that was created in step 4 is shown. Select it, and make it current in this model by going into the Location command of the Manage tab on the ribbon. You will now notice that the survey point was relocated based off the proper shared site information.
Acquiring Shared Coordinates from a Linked Model
If we think of publishing shared coordinates as the push option; we will now explain the pull option by acquiring shared coordinates using a linked file. As before, here’s a short video showing the step-by-step process to pulling those shared coordinates from a linked model. Again, we’d like to encourage you to read on to understand a bit more of the method behind the madness.
- Open the model that you would like to add the proper geodetic information to. Once you turn on the visibility of the site points, notice the project base point location along with its coordinates, and the survey point that has its own set of coordinates. By selecting the survey point, you will be able to control the shared coordinates of the model.
- Create a new shared site and rename it. This can be done by selecting the default shared site and duplicating it, then simply renaming it. Remember to make sure that the correct shared site is “current” in the model.
- When linking in the model with the proper shared site reference, bring it in using the ‘By Shared Site’ positioning to insert it at the correct location in the current model - this will be the reference for the final resting position of the current model.
- Once the proper model is linked, use the Relocate Model option in the drop-down list for Position in the Project Location portion of the Manage tab. Use a grid intersection and move the project to align with the same grid intersection of the linked model. Also, make sure that the levels line up appropriately using the same method. Aligning the grids and levels is basically setting the current model in the proper position for the x, y, and z axes.
- Now that the grids and levels are now lined up, the coordinates of our current model are also lined up with those of the linked model. Simply saving the current model will update the shared site position we have just adjusted.
Shared coordinates can be brutal
After writing this article, I felt compelled to share my opinion on shared coordinates:
“Shared coordinates, the never-ending battle of impossibleness that should be so easy, and straight forward can become so utterly defeating, the root of all Revit evil.”
Brodi L. Scott
More resources
We hope that this tutorial has helped you tackle your shared coordinates in Revit. There are a few other resources we recommend checking out if you find yourself fighting through the easily-confused relationships between the Revit coordinate systems:
- For even more detailed instructions, check out our help center article on setting up Revit shared coordinates.
- This guide by Autodesk on model positioning
Have something that’s stumping you with BIM Track?
.
- Brodi L. Scott